Smart Devices App
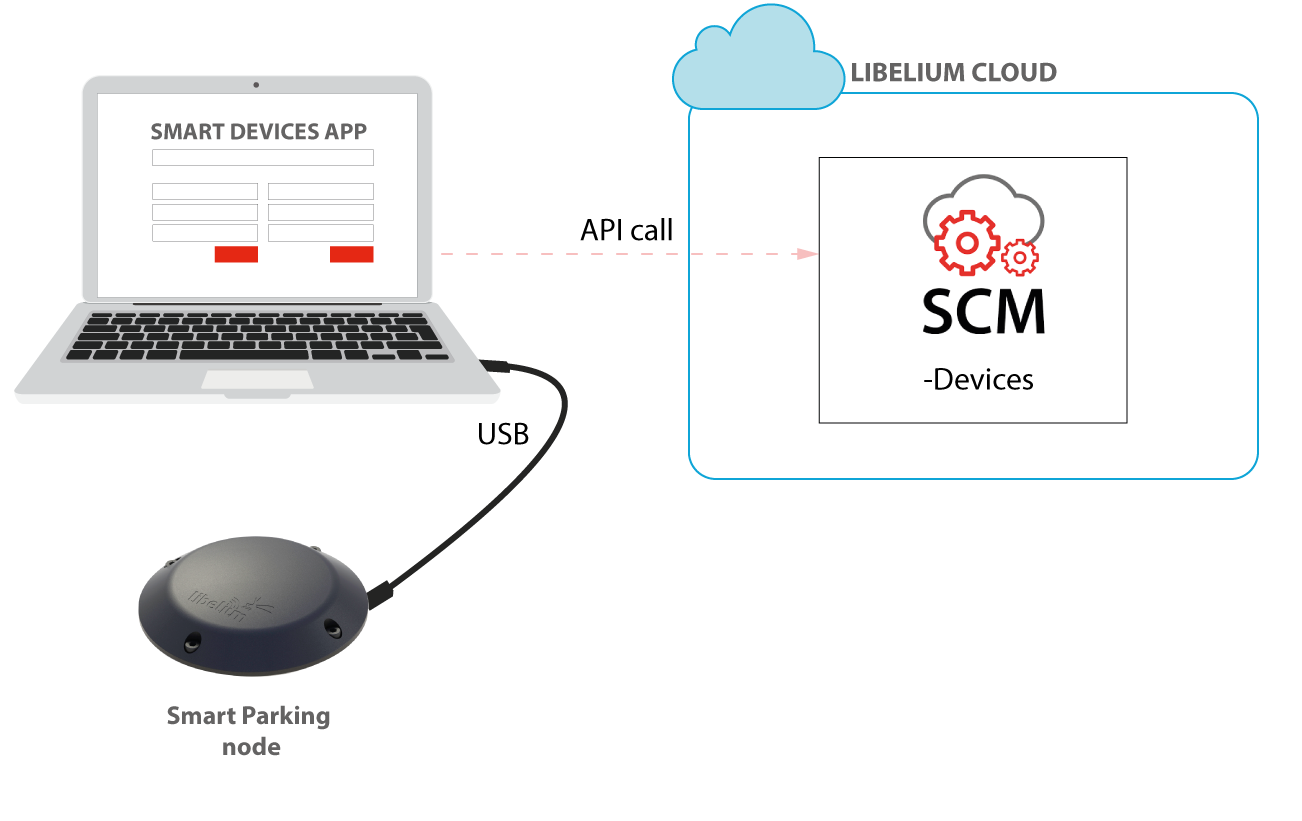
Smart Devices App is a software tool developed by Libelium that allows users to install new firmware versions and program the configuration of Libelium devices in few clicks.
For further information (installation and execution) please refer to Smart Devices App manual: Smart Devices App (Binaries Updates)
Configuring Smart Parking v2 parameters
How to plug the Smart Parking node
Before using the Smart Devices App, you must keep in mind how to plug and initialize it properly.
As explained in the "Smart parking node" section, there are 2 switches to manage the node working mode. In order to use the node with the Smart Devices App, it is mandatory to set the node in "Boot" mode and then power it on. If you changed from "App" to "Boot" mode, then you can use the reset button to apply the change and restart the node in the bootloader section.
Never leave the device set to "On" and "Boot" for more time than needed: the bootloader does not provide any sleep mode and it will waste the battery of the device. So when you finish reconfiguring the device, please set the node to "Off" state.
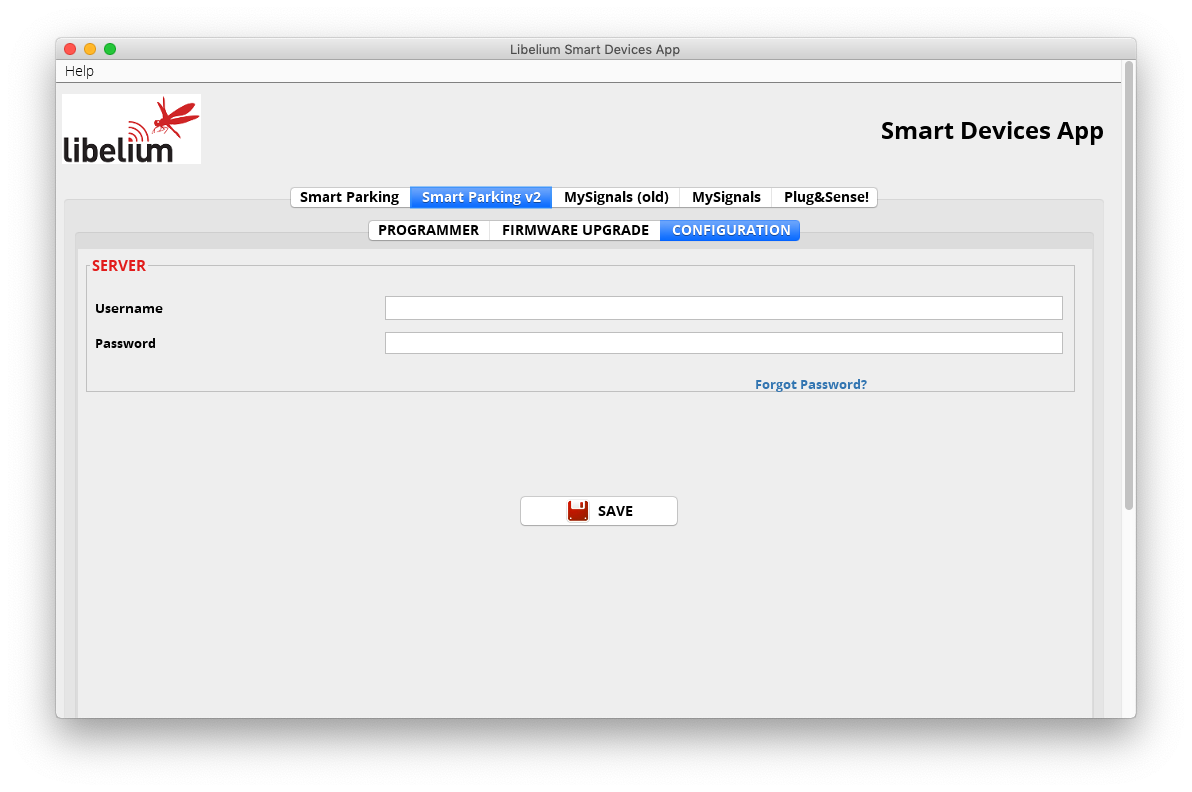
Configuration
In the last tab, called Configuration, 2 parameters are available: "Username" and "Password". These are the same credentials needed for the Libelium Cloud (https://cloud.libelium.com/app/login).
Filling these fields is mandatory before start using the Smart Devices App with the Smart Parking node. Please remember to click the "Save" button at the bottom of the application to store the correct credentials.
There are some differences between the 1st version and the 2nd one. In you must type your credentials to authenticate your nodes against the Libelium Cloud.
You should have an account on the Libelium Cloud to get your username and password.
Programmer (change node parameters)

Users can read and write all node parameters in this section. The process is quite simple: just connect the device to the computer where the is installed using the USB cable provided and switch on the node in "Boot" mode.
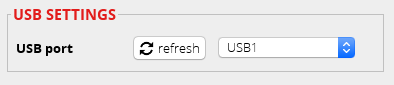
Next, refresh the "USB settings" section (bottom-left corner), clicking the "Refresh" button. Then select the port where the device has been connected. After that it is a good practice to hit the "Load from node" button to get the current configuration from the connected device.
The "Load from node" button will read all parameters from the node and will display the information on the app. On the other hand, the "Send to node" button will overwrite the configuration on the node. All available fields have to be filled with the proper format. If any parameter does not have an acceptable format, a red cross is displayed close to it, and you will not be able to write the information on the node. If the information introduced is valid, a green tick is shown. When loading/sending information to the node, the application will warn the user through a pop-up window about the status of the operation.

Smart Parking v2 shares most of the configuration fields with . However, it is important to know the purpose for each field on the configuration. To know more about each field and how they work, please refer to the chapter "Smart Parking node".
Configuring a "sleep time" less than 1-minute period importantly decrease the battery life.
Firmware upgrade
Inside this tab, users can select the firmware version to install in their devices.
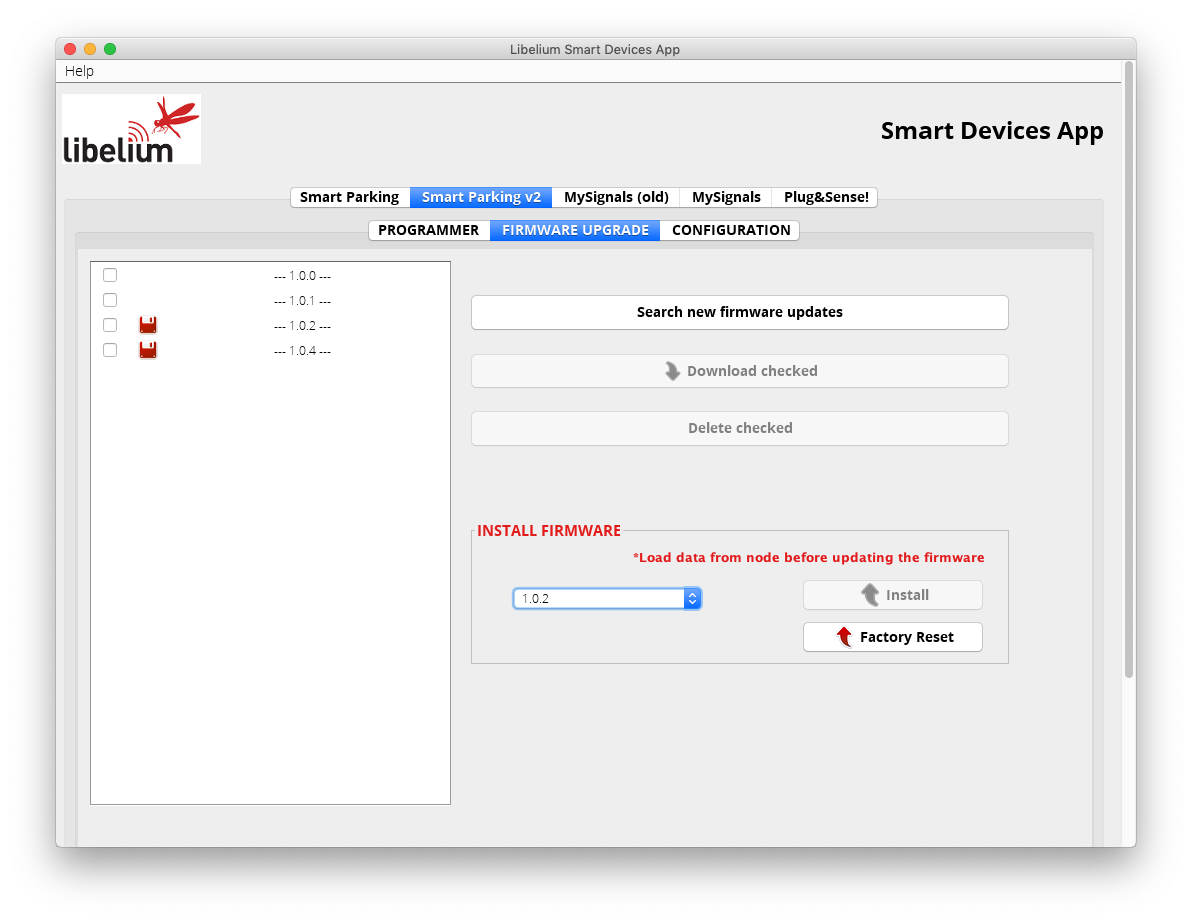
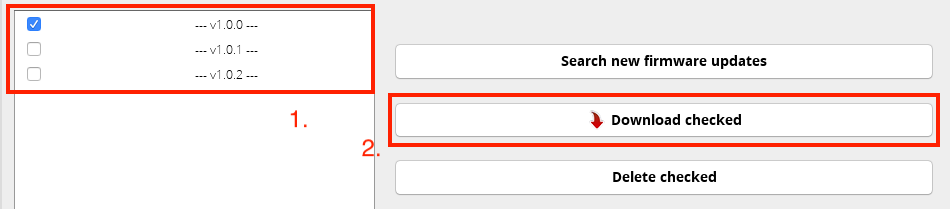
The list with all available firmware is loaded when the program starts, but users can manually update it by clicking on the "Search new firmware updates" button. Before installing the firmware, it is necessary to download it. This process is very simple, just mark the check of the version you want to install from the list and click on "Download checked".
It is mandatory to perform a configuration load from node using the button available in tab before updating the firmware. This information load will check the current configuration before updating the firmware.
To summarize, the steps are:
- Check your firmware version in the Programmer tab before flashing a new firmware:
- Nodes with firmware v1.1.x are compatible with firmwares v1.1.x and v1.2.x
- Nodes with firmware v1.0.x are only compatible with firmwares v1.0.x
- Click the "Search new firmware updates" button to load new firmware updates
- Check one or more firmwares to download from the firmware list on the left side
- Click on "Download checked" to download the selected firmwares
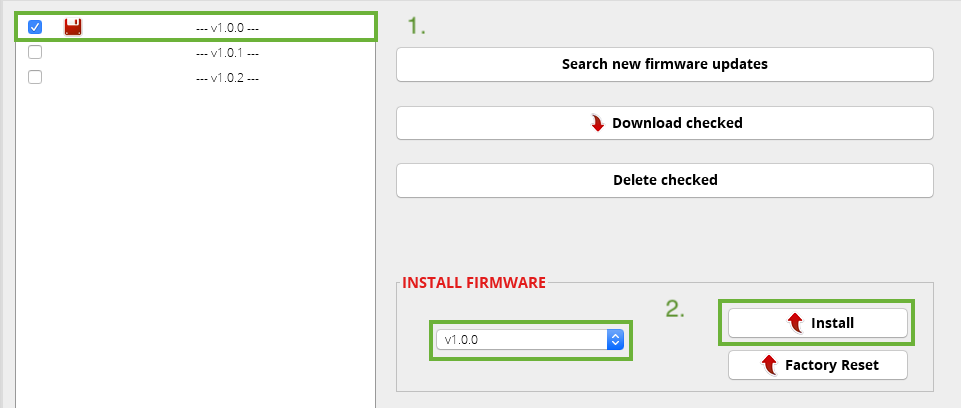
Now the firmware files are downloaded. The drop-down menu will show the available firmware files to be installed on the node.
When the file is downloaded, a disk icon is displayed close to it, indicating it is downloaded. On the "Install Firmware" section you can select the firmware to install and then hit on "Install" to execute the installation. The app will display a pop-up message for the status of the firmware installation.
Remember that the USB port must be selected in the programmer tab.
You can also delete the downloaded firmware files by selecting the check box from the list and then clicking on the "Delete checked" button.
Factory Reset
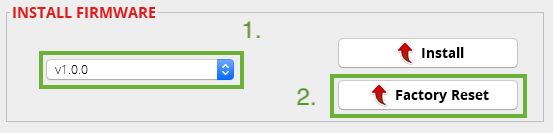
The Factory Reset is the last option to recover a non-working Smart Parking v2 device. It performs a full reset followed by a firmware and configuration reset. To get the recovery configuration file, send an e-mail to pointing your order number and the Technical Service Team will send the configuration file needed.
For this process it is mandatory to download a firmware, as explained on the previous section "Firmware upgrade". Then select a firmware from the drop-down menu and press the "Factory Reset" button.
Pressing the "Factory Reset" button will display a file explorer window to select the configuration file provided by Libelium. Once you selected this file, a message will show up asking if you want to start the process. If the "Yes" option is selected, the Factory Reset process starts.
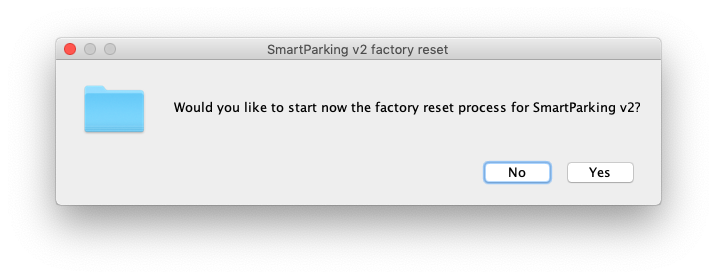
When the Factory Reset finishes, another message informs about the final result:
After this process, you can configure your node again on the "Programmer" tab.