Connectors
Users can manage all their connectors in this section.
List
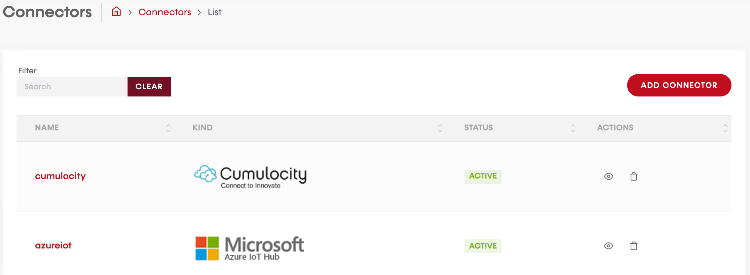
In this list will be displayed all the connectors that the user can manage.
Actions
For each connector created, users can execute the following actions:

 View: Clicking on this action, users can see the connector information. It can be also reachable by clicking on the name of the connector on the list.
 Delete: This action will delete the connector permanently.
Filter
Users can filter the results on the list. To do this, just type on the search box the string you want to look for and the results will be updated on the list below. Please take into account that the filter will perform from the third character written.

If you want to delete the search box, click on "clear" button. It will be enabled when users start typing.
Pagination

Users can find a pagination like this in each list on the Cloud divided into 3 parts:
- Per page: This part is intended to show more or less result in the list on each page. Users can select the desired value and the list will be populated with the new requirement.
- Number of records: Total number of results displayed on the list. It is only for information purposes.
- Pages: The system will print automatically them, letting users go from the first to the last page directly through the page number or using the previous
 or next button
  (if enabled).
Add connector
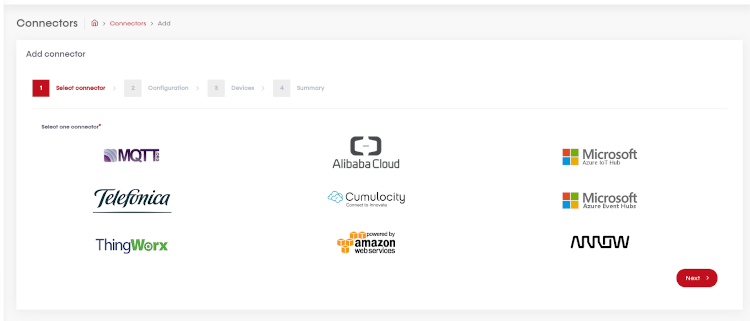
Step 1: Select Connector
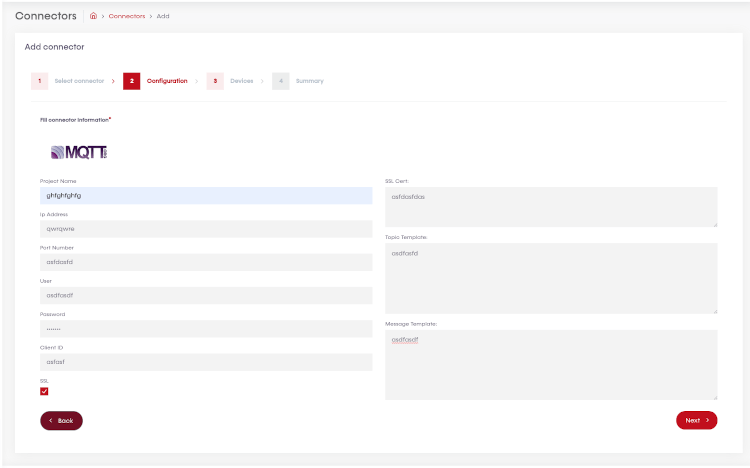
Step 2: Configuration
Configuration depends on the connector selected. Please, see the connectors subsections to check all fields required for this configuration.
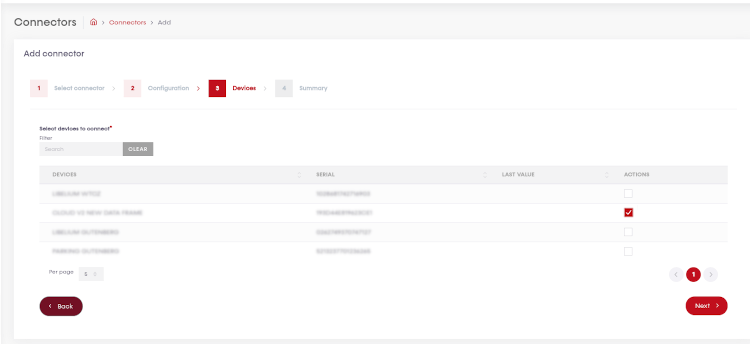
Step 3: Devices
Select the devices you want to use with this connector.
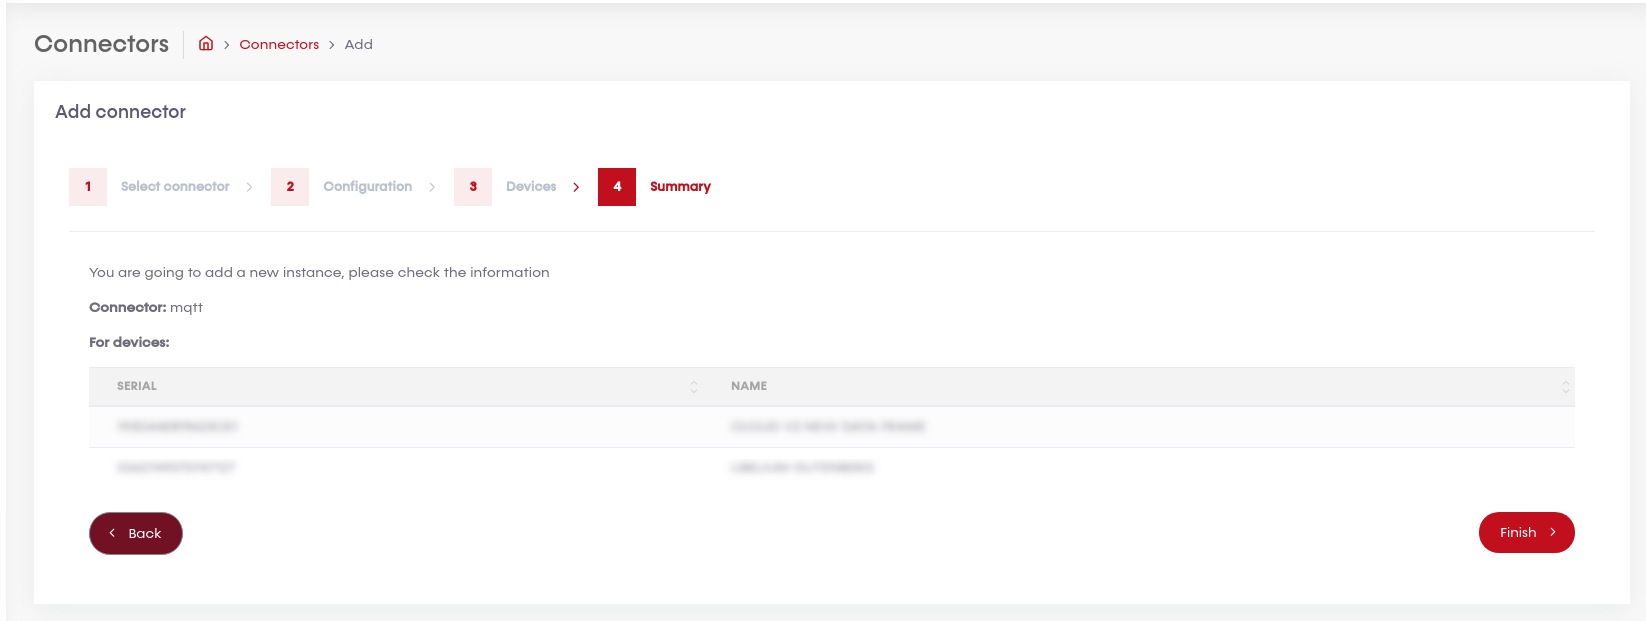
Step 4: Summary
Before confirm the creation of the new connector, all the selected information will be shown. So you can confirm is the right choose. After the connection is created, you can edit its configuration.
