Dashboards (beta)
Users can manage dashboards through this section.
{warning.fa-dot} Dashboards feature is on beta release. This means that the section may contain little bugs and also that we are working on improving it with new functionalities in the future. If you want to keep up to date about new releases, please subscribe to our newsletter or check this Technical Guide.
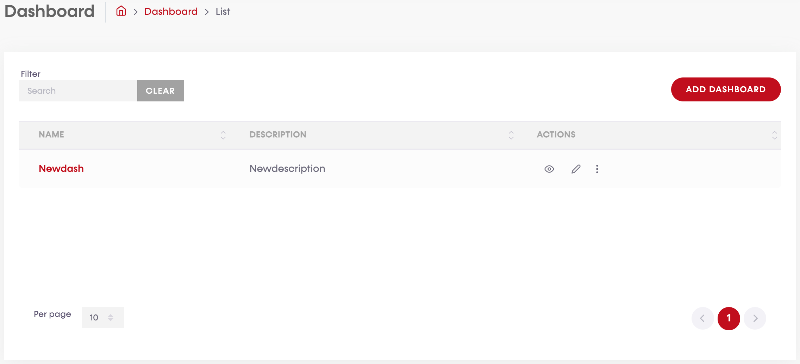
List
In this list will be displayed all the dashboards created by the user.
Actions
For each dashboard created, users can execute the following actions: 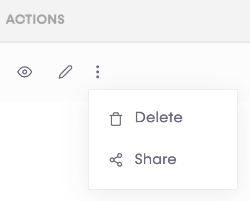
 View: Clicking on this action, users can see the dashboard in action. It can be also reachable by clicking on the name of the dashboard on the list to view the dashboard.
 Edit: In this action, users can modify the name and the description of the dashboard.
 Delete: This action will delete the dashboard permanently.
 Share: This feature will be available soon!
Filter
Users can filter the results on the list. To do this, just type on the search box the string you want to look for and the results will be updated on the list below. Please take into account that the filter will perform from the third character written.
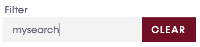
If you want to delete the search box, click on "clear" button. It will be enabled when users start typing.
Pagination

Users can find a pagination like this in each list on the Cloud divided into 3 parts:
- Per page: This part is intended to show more or less result in the list on each page. Users can select the desired value and the list will be populated with the new requirement.
- Number of records: Total number of results displayed on the list. It is only for information purposes.
- Pages: The system will print automatically them, letting users go from the first to the last page directly through the page number or using the previous
 or next button
  (if enabled).
Add Dashboard
Users can create dashboards from scratch by clicking on "add dashboard" button  , placed on the top-right side of the list.
A new window will be loaded with this information:
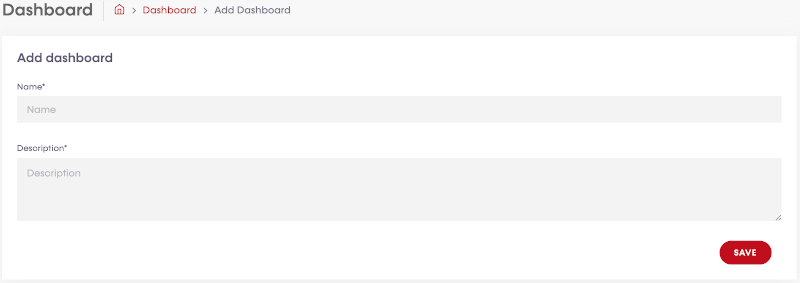
- Name: Name of the dashboard you want to create. We recommend using a clear name just to identify it easily.
- Description: Dashboard description, information to clarify the content you want to display on it. Once the information is typed, you can click on "save" button. You will be returned to the list view, and a confirmation message will appear on the top-right side.

Managing the dashboard
Now it is time to fill the content of the dashboard. To do this, click on the view action button of the list or in the dashboard name.

Controls
In this view we have the following controls:

 Refresh manually: Button which updates data of the whole dashboard.
 Refresh automatically: Selector where users can select the dashboard update frequency automatically. Options are 60s (one minute), 5m (five minutes) and 15m (fifteen minutes).
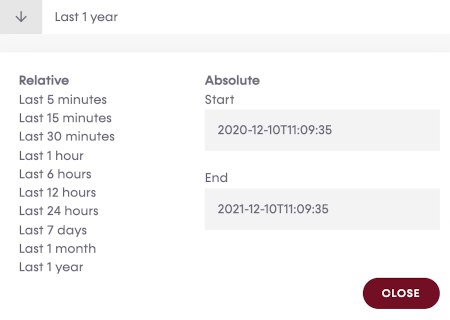
 Data Period: Selector where users can select the data interval of all cards of the dashboard. Options can be relative (pre-established period from now on) or absolute (selecting start/end date-time from a calendar picker).
 Add Card: This button allows users to create cards inside the dashboard. It will be explained in the following sub-sections.
 Save: This button will save the dashboard configuration (refresh frequency, data period and cards size and position).
For each card created, users have the following controls:

- Edit: Users will be redirected to the card management form to update the information they want to modify.
 Refresh: Chart data will be updated, but only the chart selected.
 Hide: Hide the content of the card (not the card controls).
 Delete: Delete the whole card.
Order
Finally, users can order their cards as their needs by just clicking on the card, where no other controls are placed, and watching a multiple arrow icon that means it is possible to do this operation. Keeping the mouse button pressed, users can move the card on the dashboard.