- Setup in Azure - Creating NameSpace
- Setup in Azure - Creating an Event Hub
- Setup in Azure - Setting up shared access in Event Hub
- Configuration
- Controlling synchronization
Microsoft Azure Event Hubs
Azure is a cloud platform provided by Microsoft. This platform has a lot of services to reach communication between machines and devices.
This section focuses on Event Hubs, we can refer this technology as a way to send short messages via HTTP REST request. Event Hubs is part of Service Bus. Event Hubs implements a simple message consumer M2M technology.
For more information about Event Hubs, see the following link:
https://azure.microsoft.com/en-us/services/event-hubs/
Setup in Azure - Creating NameSpace
Before getting the parameters to connect to Event Hub, it is necessary to create a Service Bus Namespace (skip this section if you already have one).
Go to the Azure Event Hub Portal:
https://manage.windowsazure.com
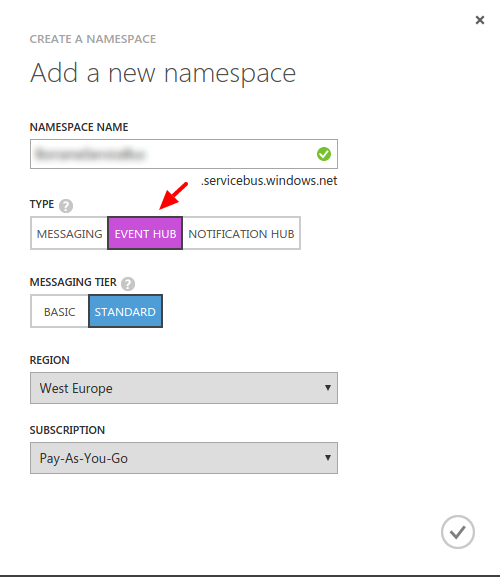
Select the Service Bus menu. At the bottom of the Bus service manager screen you will see a NEW button with a plus image, click on it. A pop-up window will appear where you must select message type "EVENT HUB".
Setup in Azure - Creating an Event Hub
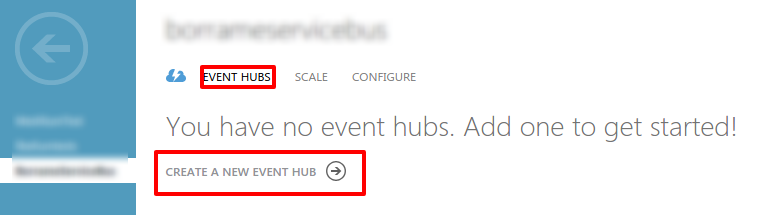
In this section we will create an Event Hub that will receive our data from Meshlium. After we dive into the Service Bus we have previously created, we can see a menu on the top of the screen, then we should choose "Event Hubs" and "Create a New Event Hub":
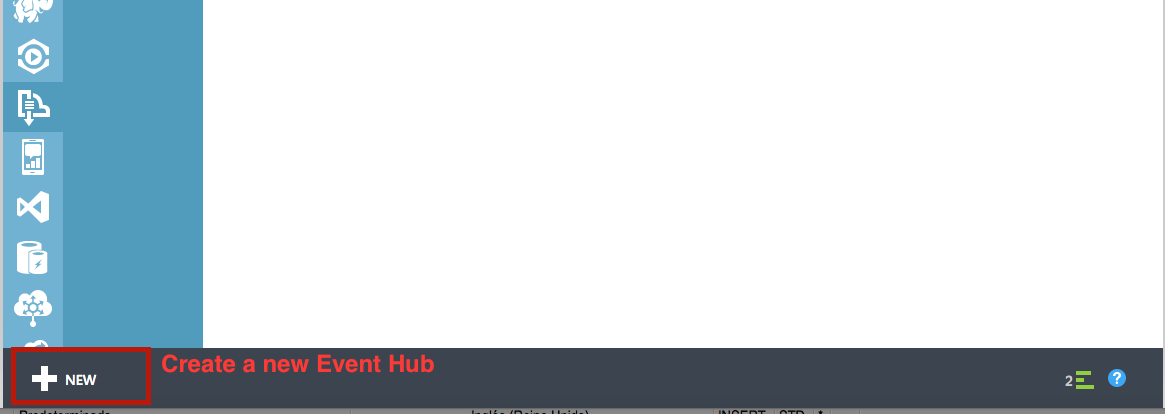
After clicking on this menu, a new screen will appear. At this point we can create a new event hub clicking on the bottom left icon labeled as New:
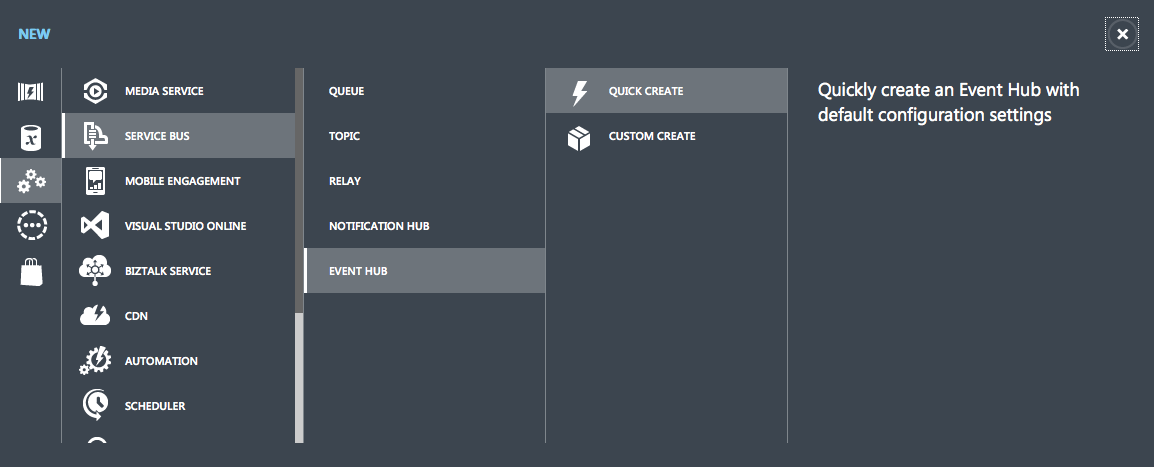
After click this button, a pop-up window raises above and you are now able to create an event hub, we are going to choose "quick create" option to make this step easier:
Type your event hub name and click "Create a new event hub" button to finish the configuration process.

You have created an Event hub for one day data retention, which means that your data will be kept one day.This method sets a partition section with value '4', which means the number of partitions the Event Hub may have.
Setup in Azure - Setting up shared access in Event Hub
We set up a shared directive to send data with custom credentials.Once we entered on event hub information (by clicking on event hub), these credentials can be set up in the configuration section, this menu is on top of the screen:
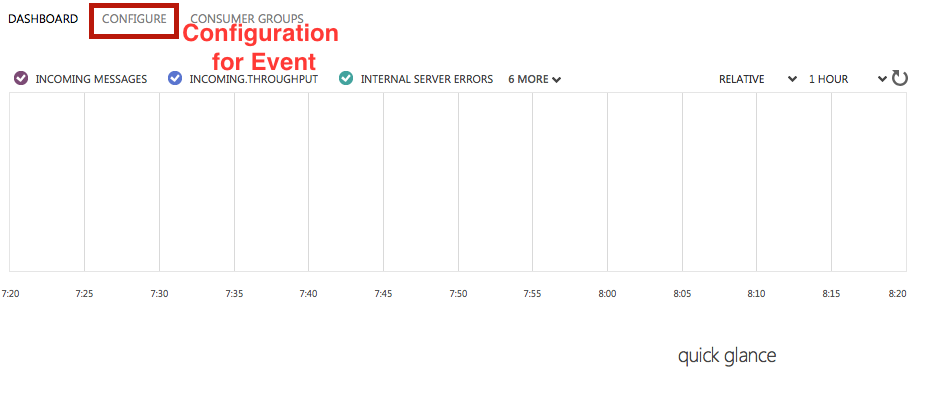
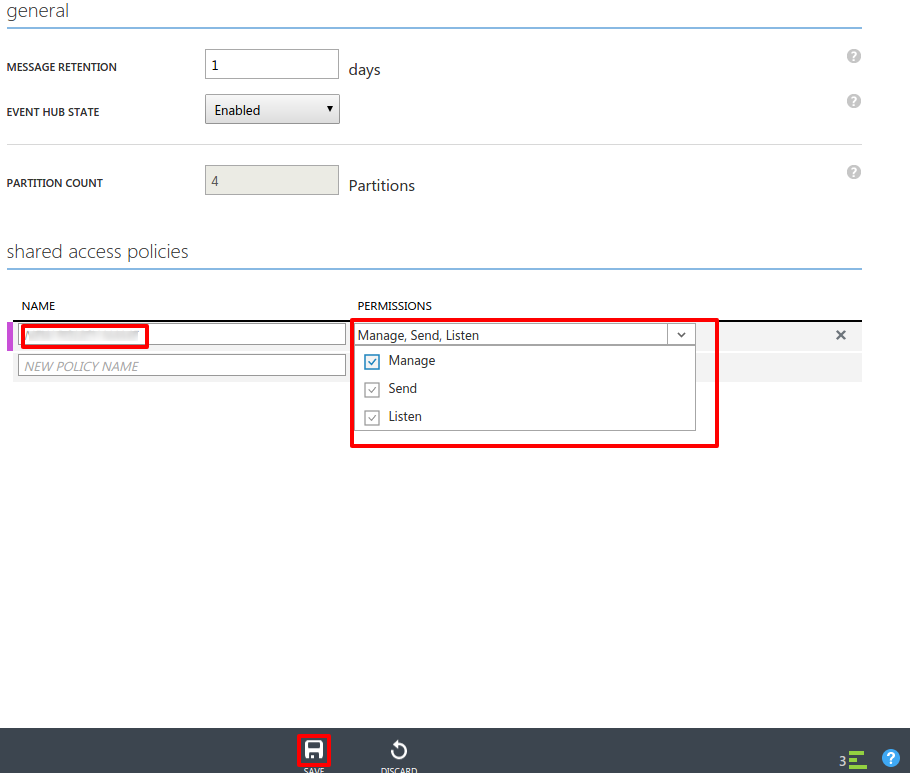
Click on the "configure" option and a new screen will be displayed. Here you can configure message retention, event hub state, partition count and shared access policies. This last point (shared access policies) manages credentials to send and listen messages (or both action), we will create a new credential to send messages. On "shared access policies", type a name for your key, and in the permissions drop-down menu, select "Manage" permission. Then press "save" on the bottom of the screen.
Finally, we will copy the information needed to connect the Event Hub connector. In order to do that, go to the "Dashboard" of the Event Hub and select "View Connection String".

Copy the "Connection String" that appears in the screen.
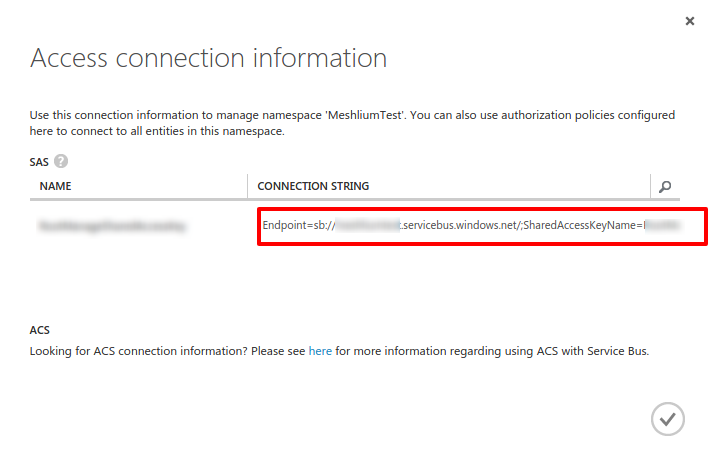
We will extract the information needed to connect the Meshlium from the "Connection String". You have to copy the NAMESPACE, the DIRECTIVE_NAME, the DIRECTIVE_KEY and the EVENTHUB_NAME from the string as the following example:
Namespace=Endpoint=sb://NAMESPACE.servicebus.windows.net/;SharedAccessKeyName=DIRECTIVE_ NAME;SharedAccessKey=DIRECTIVE_KEY;EntityPath=EVENTHUB_NAME Note that the namespace is only a part of the string Endpoint, it does NOT include the "sb://" neither the ".servicebus.windows.net/" part.
Configuration
As result of previous steps, we should have a namespace, a directive name, a directive key and an event hub name. These are the main properties we should set in the Manager System to configure an Event Hub connection.
Now we can access the Meshlium Manager and fulfill the Azure Event Hub fields with the previously obtained configuration.
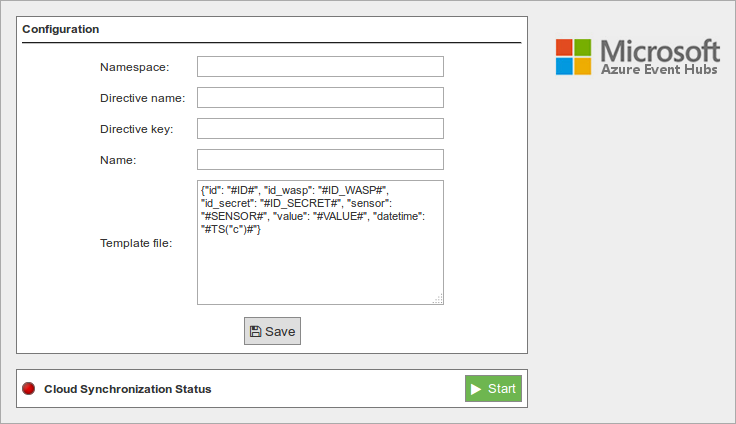
- Namespace: Name of the space created in the Azure service cloud.
- Directive name: Name of the directive created in Azure.
- Directive key: Key of the directive associated to the previous name.
- Name: Name of the Event Hub established in Azure.
- Template file: Users can define their own data structure using these wild-cards:
- #ID# : Unique identifier for data.
- #ID_WASP#: Identifies the Waspmote unit.
- #ID_SECRET#: Secret identifier.
- #SENSOR#: Identifies the sensor.
- #VALUE#: Value obtained from the sensor.
- #TS("c")#: Date with custom format. The parameter passed in this wild-card corresponds to the same ones you can use in PHP date function (see format parameters in http://php.net/manual/es/function.date.php#refsect1-function.date-parameters).
Controlling synchronization
Once you have saved the configuration, you can start sending your data via Event Hub to your Azure Cloud by pressing the "Start" button. You will notice about it because the screen shows a spinning wheel when the process starts and displays a "running" status.

If you want to stop this process just press the "Stop" button. You can start/stop this process whenever you want.
