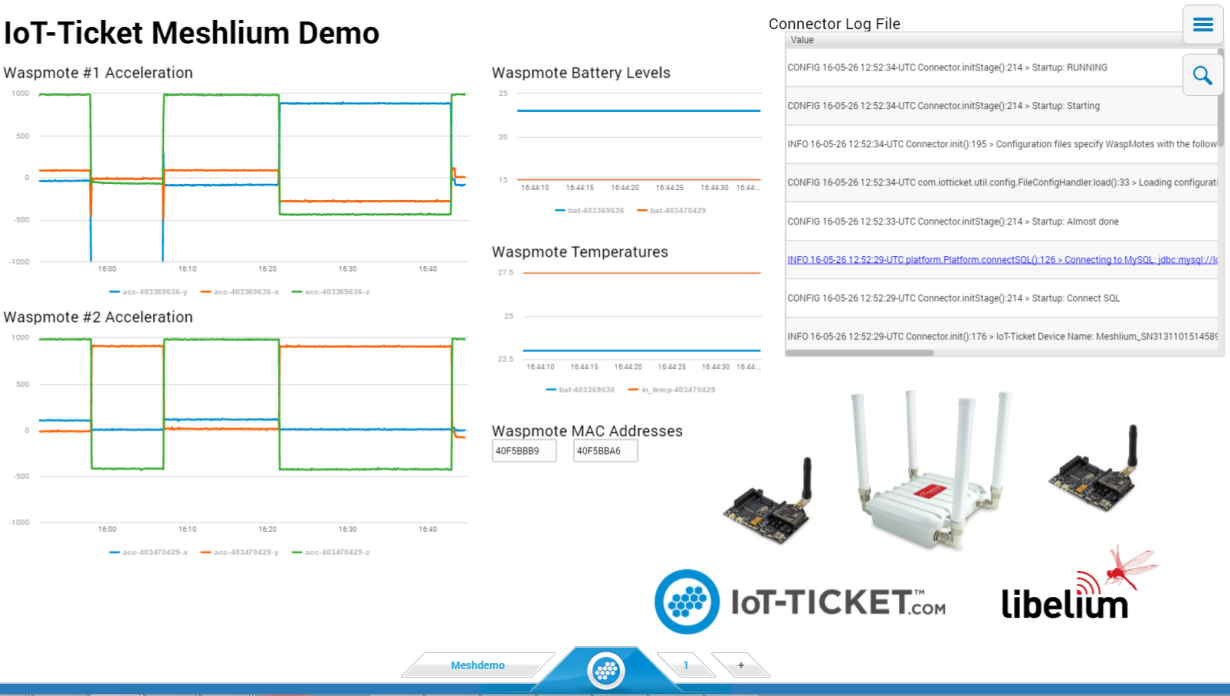
- IoT-Ticket Meshlium integration
- Save, load and verify
- Validation of settings
- Waspmote filtering
- Synchronization status
- IoT-Ticket view
IoT-Ticket
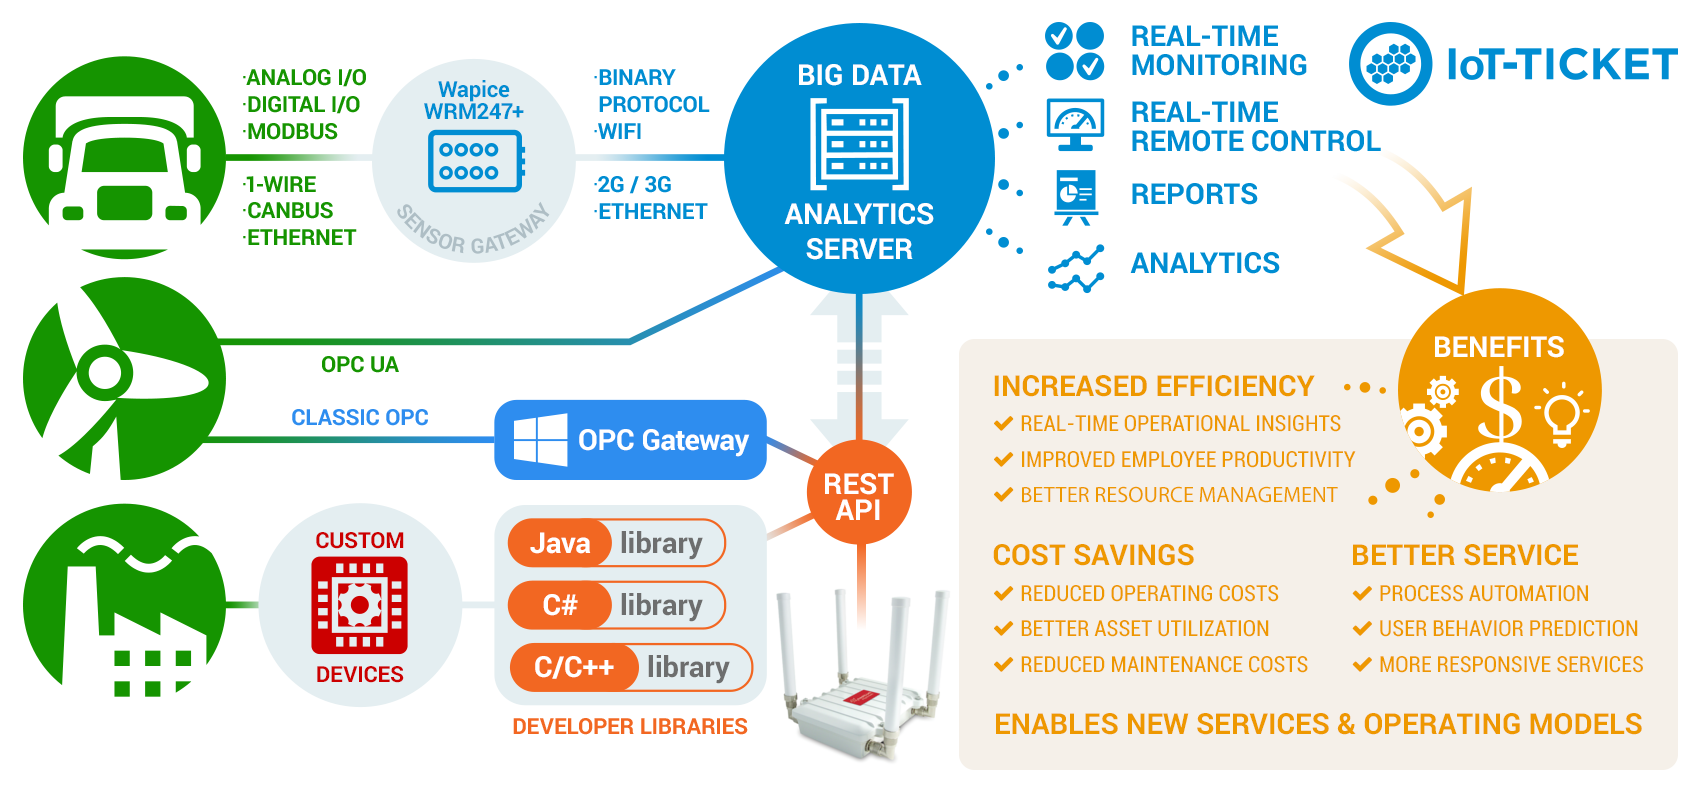
IoT-Ticket is one of the world's most complete, advanced and easy to use Industrial Internet of Things platforms with over 1.6 million users mainly in the energy and mobile machinery industry. Using IoT-Ticket you can build IoT applications in your web-browser in minutes, no plug-ins required. You can create dashboards, reports, analytics or augmented reality based on big-data collected from your things.
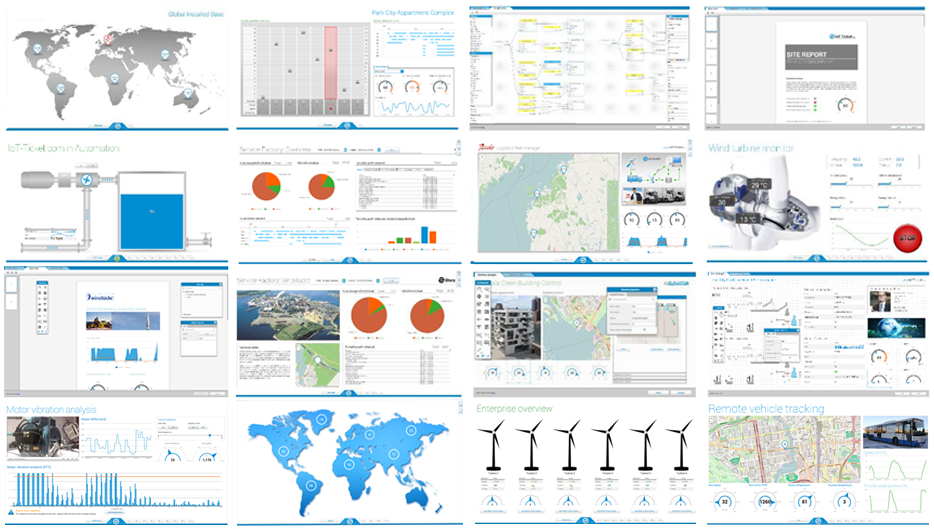
Some benefits offered by IoT-Ticket:
- Complete, up-to-date solution: IoT-Ticket is a complete remote management system which includes the electronics, software and server. The platform is continuously developed further with new features and options.
- Easy to get started and integrated: You can use the platform as a service (SaaS or PaaS) or deploy to your own servers. We can integrate IoT-Ticket with any of your other information systems.
- Flexibility and choice: Use the whole IoT-Ticket platform or part of it. Use IoT-Ticket specific electronics or use your own, already deployed, electronics. Easy to use API in many programming languages allows a huge selection of devices to be easily connected.
- Easy to use and Customizable: The IoT-Ticket web dashboards allows you to be up and running in minutes using only your web browser. IoT-Ticket can be customized to meet your unique needs, even the look and feel can be made to match your corporate brand identity.
More information can be found at www.iot-ticket.com.
IoT-Ticket Meshlium integration
Once Libelium's Cloud Connector has been configured, all your available data will show up automatically in your IoT-Ticket web-based dashboard / report designer from where you can easily design Internet of Things applications.
The IoT-Ticket cloud connector settings can be found under the IoT section of the browser-based Meshlium Manager System. The configuration is split into three parts Login Configuration, Connector Settings and Waspmote Filtering, as well as a section for information about the current status of the connector with controls to start and stop the program.
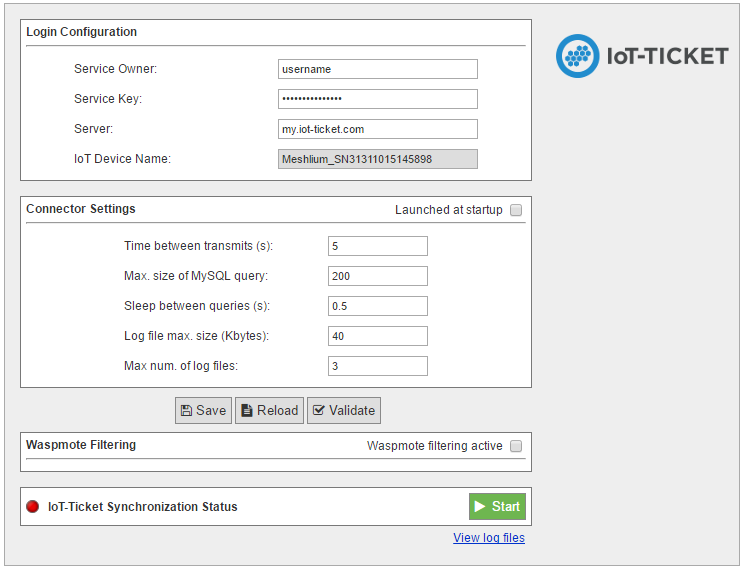
The Login Configuration section sets up the information for your IoT-Ticket account, and consists of four parts:
- Service Owner/Key: gives the username and password of the my.iot-ticket.com service account to which you wish to connect your Meshlium device.
- Server: specifies the IoT-Ticket server to use, by default my.iot-ticket.com.
- IoT Device Name: is a read-only field showing the IoT-Ticket device name used for that Meshlium unit. It is set when the connector is started and is empty if no name has yet been set (in such a case, use browser "Refresh" after connector has started to see the name).
The Connector Settings section has parameters for the operation of the connector itself. These values affect time between updates to IoT-Ticket as well as size of transmitted batches of data. More frequent data updates may come at the cost of increased system resource usage.
- Launch at start: This checkbox indicates whether the connector is set to start automatically when the Meshlium is powered on.
- Time between transmits: gives the minimum elapsed time between transmissions to IoT-Ticket. Values less than 60 seconds may consume high system resources.
- Sleep between queries: is the time the program sleeps between SQL queries, in order to conserve resources.
- Max. size of SQL query: is the maximum number of results for a single SQL query to the Meshlium database. Values greater than 200 may lead to high system load.
The section also allows for configuring connector logging:
- Log file max. size (kbytes): The maximum size of a single log file in kilobytes.
- Max. num. of log files: is the number of log files that can be written before the logging handler begins overwriting the first.
Save, load and verify
These buttons allow saving, loading and validating entered configuration data to a local file on the Meshlium disk which is read by the connector. The saved data includes both the Login and Connector settings as well as any entered Waspmote filtering rule (see "Waspmotes" section below).

- Save: validates the data entered into the form and saves to it to disk.
- Reload: reads data back from disk, erasing any fields that have been changed since last save.
- Validate: runs a check that entered fields are of the correct type and connects to IoT-Ticket to check the entered username and password. If verification fails for a field, it will be marked in red and an error message appears.
Validation of settings
Configuration settings are validated to make sure the entered data fields make sense (e.g. numeric fields such as sleep and query size must be numbers). Additionally, the validation will issue warnings if any parameters might cause high system load on Meshlium.
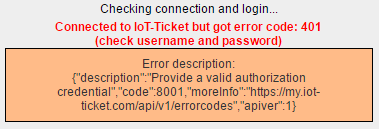
Additionally the "Validate" button checks entered login information with the IoT-Ticket server and shows a warning if settings are incorrect and a green confirmation message if they are correct.

Waspmote filtering
This section allows filtering of which Waspmote data is synchronized to IoT-Ticket. The section is enabled by ticking the Waspmote filtering active checkbox.
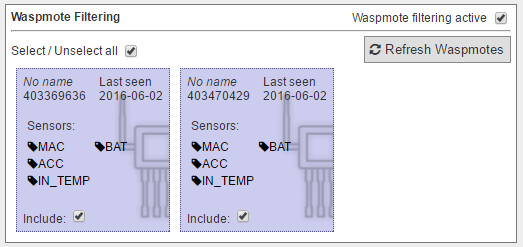
- Refresh: Waspmotes reloads the list of Waspmotes from the Meshlium database.
- Select / Unselect: All allows for quick selection or deselection of all present Waspmotes.
The Waspmote infobox contains the following values:
- Name: in the top-left shows the name a Waspmote broadcasts to the Meshlium with its readings (this is set in Waspmote code). If not set, No name is displayed instead.
- Last Seen: is the last date at which a sensor entry was sent from the Waspmote to the Meshlium.
- Sensors: is a list of sensors present on that Waspmote device. Only the latest detected set is displayed here, in case sensors are changed. Full names may be seen by hovering the mouse over the abbreviated names in the list.
- Include: specifies whether the Waspmote should be included in the data transmitted by the connector. Deselected Waspmotes have their info box greyed out.
Synchronization status
This section allows the user to start and stop the connector and displays information about its current status. When the connector is off, the indicator marker is red.

After clicking "Start", the connector shows a startup sequence, and when finished the running status will be indicated by the status icon turning green. The start button becomes a red "Stop" button.

The link "View log files" will allow you to see the status of the running connector via its log files. A filtered set of this logging data will also be available as a data node in your IoT-Ticket enterprise.
IoT-Ticket view
Once the connector is running you can use your web browser to see the Meshlium data coming into your IoT-Ticket Dashboards and Enterprise Manager on my.iot-ticket.com.
In your IoT-Ticket enterprise the Meshlium device will be viewable as an IoT-Ticket device under your enterprise and can now easily be used in Enterprise Dashboards to create views of your incoming data, even mixing it with data coming from other IoT sources.
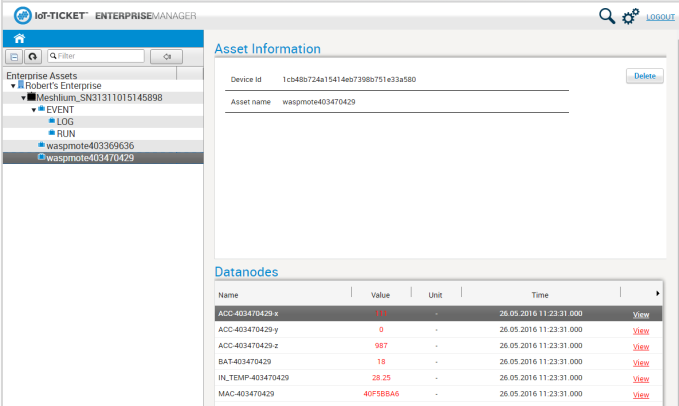
You can now configure your own dashboard with sensor data and have it up and running in a matter of minutes.
