- Register Meshlium
- Name your sensors
- Create/update rules
- Controlling synchronization
- Controlling the application
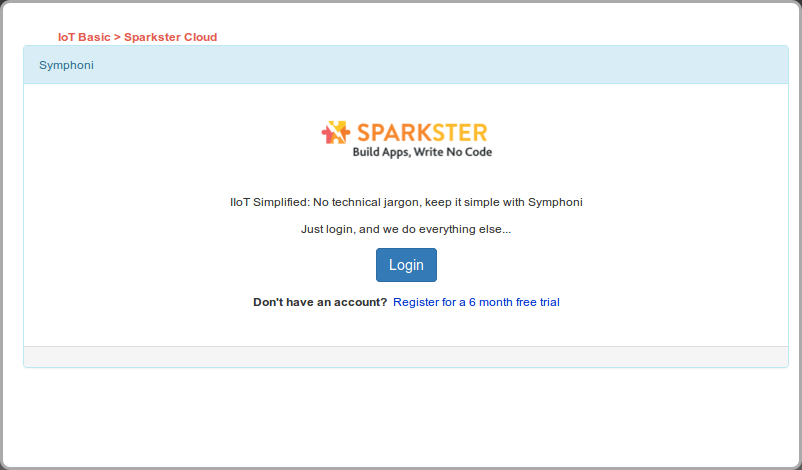
Sparkster
The Sparkster cloud platform simplifies setup, just login and set rules for what data should be sent to the cloud.
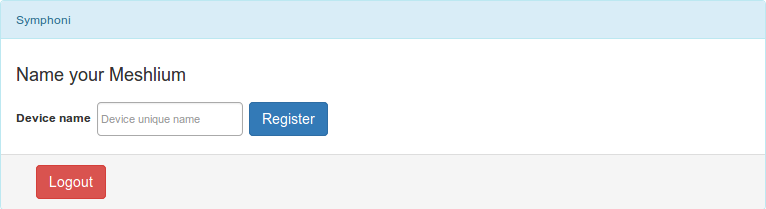
Register Meshlium
Login to the Sparkster and name your Meshlium, then click the "Register" button.
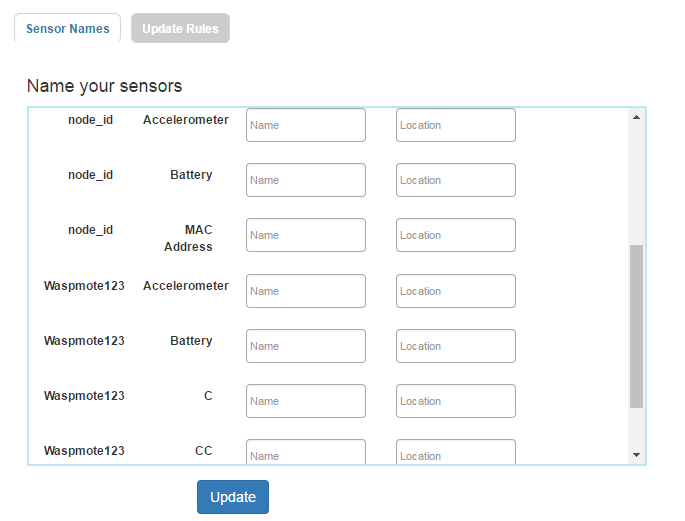
Name your sensors
Name your sensors and specify the location of sensors, then click on the "Update" button to save.
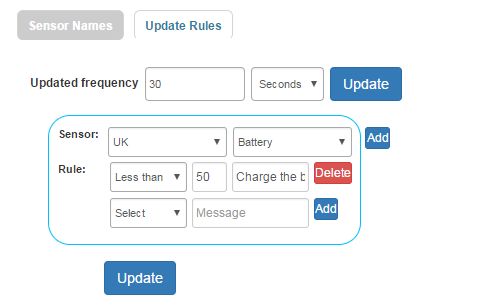
Create/update rules
Determine how frequently you would like your data to be updated to the cloud, click the "Update" button to save. The lower the frequency, the lower the bandwidth consumed.
Create the rules of what data needs to be sent from the device to the cloud and click on the "Update" button to create/update rules. Examples of these rules include the maximum temperature detected within the update period or notifying the cloud if the battery level is less than 50%. In addition to the value, you may also send a message to the cloud.
Controlling synchronization
Once you have created all your rules, click the "Start" button to begin the transmission to the cloud. Click the "Stop" button to stop the data transmission.
Controlling the application
Click on the "Stop App" button to stop the Sparkster application on your Meshlium.
Note: Clicking on the “Stop App” button will log you out and stop any data transmission to the cloud. This will also terminate the Sparkster Application.
Click on "Logout" button to logout from the application.
Note: Clicking on the “Logout” button will log you out and stop data transmission to the cloud.
